Thursday, April 2, 2015

Bring History to Life with Tour Builder


Tour Builder is a web-based tool that can enhance English, Social Studies, and more.  Teachers can design a tour by specifying a path, enhancing that path with links, photos, videos, etc.  The tool uses the Google Earth plugin and is currently compatible with specific browsers (read the details).  See what one History teacher is doing with Tour Builder.
  1. Go to https://tourbuilder.withgoogle.com, click the  button, and sign into your Google account
  2. If applicable, click TRUST on the following message:
  3. Click the  button to begin developing a tour
  4. Enter the TOUR NAME and the AUTHOR NAME into the LET'S GET STARTED window:
  5. Click the CREATE TOUR button
  6. Click the ADD A PHOTO link to add an introduction picture:
  7. Enter a summary into the TELL THE STORY section:
  8. Select the preferred type of story, path color, and advanced options
  9. Click the  button (repeat this step every few minutes)
  10. Click the  button
  11. Complete one of the following:
    - Search for a location by entering in an address or famous landmark, city, etc.
    - Click the DROP PLACEMARK button to manually add the placemark
  12. Click the ADD TO TOUR button
  13. Continue to enhance the story with photos, videos, dates, and information
  14. Add other locations using the ADD LOCATION button
  15. When the tour is complete, click the DONE EDITING button
  16. Click SHARE to change the share settings to specific people or anyone who has the link:
View Google's Tour Builder tutorial for further detailed instructions.

Tuesday, March 31, 2015

Toontastic

The creativity app, Toontastic, just recently joined Google.  As of now, the app and many settings, characters, and music tracks are FREE.  This app would be a great addition to any curricular area.  The useful tools can be modified to meet many different objectives.  While the Story Arc is taught and includes the setup, the conflict, the challenge, the climax, and the resolution, users can delete scenes or add scenes to meet their specific needs.

View this 30 second video to get an idea of the app:


In order to begin, launch Toontastic and tap CREATE CARTOON:
Tap NEW CARTOON:

Tap the preferred scene and click the :


Swipe left or right to select a SETTING:

Tap the right arrow in the top, right corner to move to the next step.  Swipe left or right to select toys from the suggested category or swipe left or right to move to another category of toys. Tap the toy to insert them into the movie.  Multiple toys may be added.


NOTE: Toys may be deleted. Tap the preferred toy, then tap the red trash can icon.

Manipulate the toy(s) to the starting position and click START to begin the recording.  After the countdown and the word, ACTION, appears, begin recording the audio and manipulate the toys by tapping and dragging on the screen and/or pinching in or out to control the zoom.  Tap STOP to stop the recording.


After the animation preview plays, tap the right arrow in the top, right corner to move to the next step.  Tap the preferred musical category and use the up and down sliders to increase or decrease the intensity.

Tap the right arrow in the top, right corner to move to the next step.  Tap the to edit another scene or tap theto delete unnecessary scenes.

To preview the video, tap the DONE icon in the top, right corner of the screen:
Enter a title in the MOVIE TITLE field and a director name in the DIRECTED BY field.  Tap the checkmark to preview the movie:
When all scenes are complete, return to the previously-mentioned screen that displays the clapboard and tap EXPORT TO CAMERA ROLL to move the video out of the app for sharing.  The video can then be transferred from the camera roll to a computer or other online video hosting site (such as YouTube, Vimeo, etc.).

Tuesday, March 3, 2015

Plickers

Plickers is a great way to gather information from students without each student needing to have a device.  The simple requirements are:
  • Only ONE device (can be a phone)
  • The plickers app (available for iOS or Android)
  • A set of Plickers cards (can be printed for FREE here or a laminated set can be purchased here)

 Download the app today and follow the instructions here to get started.
NOTE: If searching the App Store on an iPad, change the search settings to include iPhone Only apps to find Plickers:


Monday, February 23, 2015

TEDEd


TED Ed is a collection of educational videos created by educators, screenwriters, and animators.  Their motto is "lessons worth sharing."  These lessons are carefully written, artistically enhanced with graphics and animations, and short and to the point.  Begin by going to ed.ted.com and clicking on LESSONS on the top bar:


In addition to viewing a short, engaging lesson, students can then quiz themselves on the content by clicking the THINK link found at the right of the video.


The DIG DEEPER link allows students to learn more by reading additional information that typically includes links to additional videos or articles.  Finally, the DISCUSS section poses a thought-provoking question for students.  They can respond in class or online with an account (for ages 13 or older with an email address).  Click here for the full tour of the website.

Monday, February 16, 2015

Blendspace


Create lessons in 5 minutes?  Wow!  It is definitely worth a try.  Blendspace is a free web tool that allows teachers to organize content for a blended learning environment (the website says 5 minutes, but it may take a tad longer than that).

Begin by creating an account and clicking the  button.  Watch this 1 minute video to learn how to add elements to the created lesson.

The handy toolbar along the right side of the screen will allow you to quickly find and insert content into the blendspace:

Remember to click the  button to check the preferred PRIVACY and SHARE settings before sharing the blendspace with students

Search the blendspace knowledge base for further information.

Thursday, February 12, 2015

Tagul - Clickable Word Clouds


Tagul is a fantastic free tool to reinforce academic vocabulary.  The tool provides various shaped word clouds with an added feature - interactive links specified by the cloud creator (try clicking the cloud shown above).

  1. Create an account or sign in:
  2. Click the button
  3. Enter a name in the CLOUD NAME field:


    IMPORTANT STEP!!!
    This step is necessary for the interactive linking features
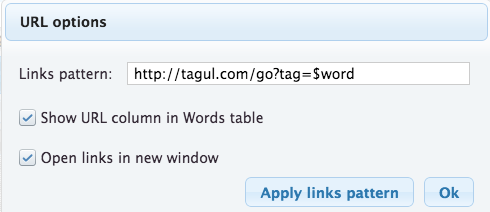
  4. Click the   button
  5. Place a checkmark next to:
    - Show URL column in Words table
    - Open links in new window (optional)
  6. Click OK
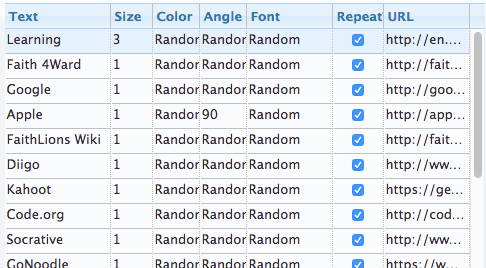
  7. Under the WORDS section:
    - Enter in the words or phrases under the TEXT column
    - Optional - select a SIZE, COLOR, ANGLE, FONT or REPEAT
    Copy and Paste desired URLs into the URL column:
  8. Periodically, click the button
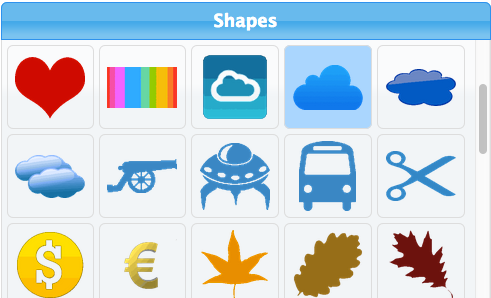
  9. Select a preferred shape under the SHAPES section:
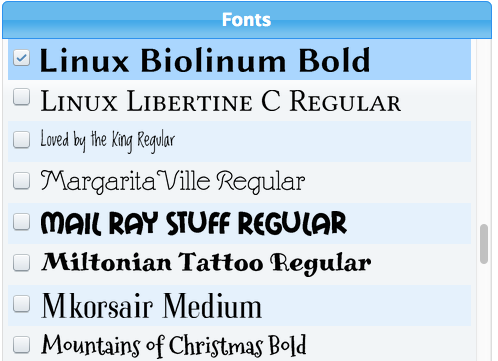
  10. Select the desired font under the FONTS section:
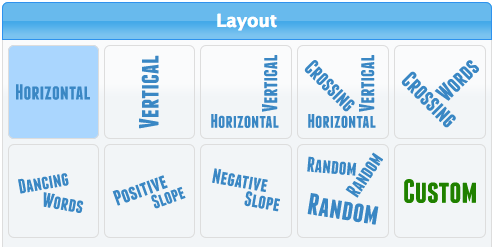
  11. Select a preferred layout under the LAYOUT section:
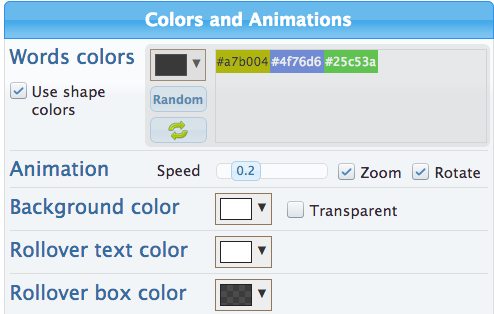
  12. Select desired colors and animations under the COLORS AND ANIMATIONS section:
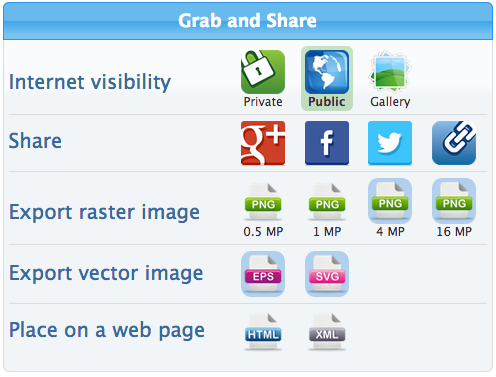
  13. Specify sharing options under the GRAB AND SHARE section:
See Tagul's FAQ page for additional help.


Monday, February 9, 2015

Sweet Search


When doing research with students, try sweetsearch.com, a search engine for students. A team of research experts have carefully curated content to return quality results for teachers and students.  In addition to using the search engine, educators may want to utilize the SweetSearch2Day area that highlights a historical fact for that day.  Other features include biographies, helpful research tips, Social Studies content, and SweetSearch4Me for younger students.  Read more here or view this video for a preview of SweetSearch.com and tips on saving your search results to Google Drive, Evernote, Diigo, etc.

Click here to look around Dulcinea (as mentioned on the above video).